These 128*64 Pixel OLED displays are one of my favorite displays for my projects due to the fact that they can be easily programmed and wired .
So in this post i will show you same very basic code and methods to control a 128*64 Pixel OLED Display With arduino .
Lets get started !
Materials Required :
(1) Arduino (can be of any variety )
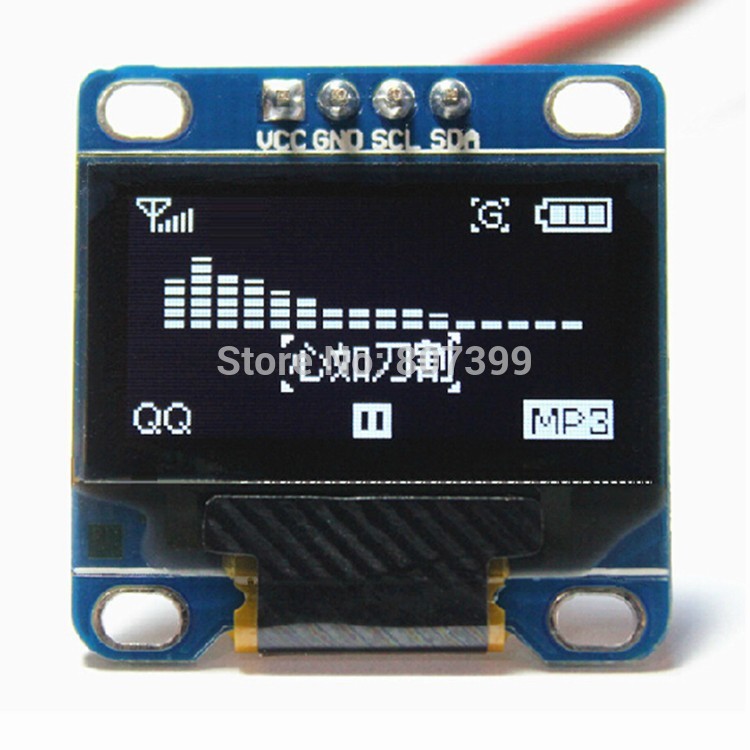
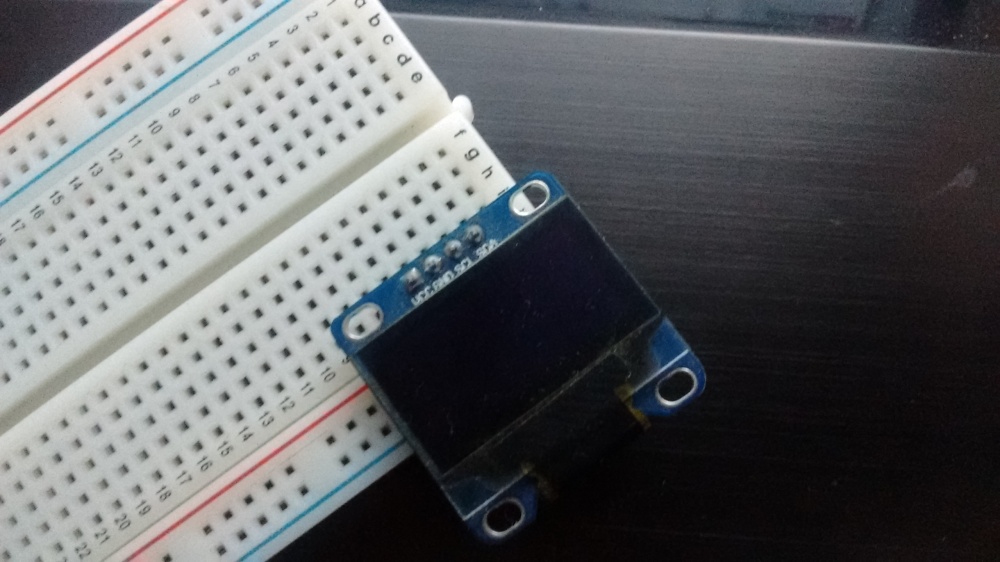
(2) 128*64 OLED Display
(3) 4 Jumper wires
(4) Breadboard
(5) A working brain (Really Must !)
Procedure :
The Software Part
(1) Download u8glib HERE .
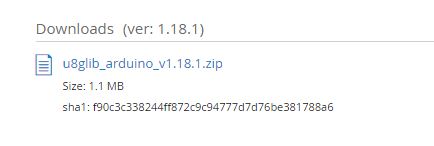
(2) Unzip the file to your arduino libraries folder .


(3) I have written a very simple and easy to understand code for you guys .You can download it HERE .


Wiring
(4) Insert your OLED to breadboard .
(5) Connect your arduino board to PC
(6) Read this pinout :
For arduino Uno , Nano , Pro Mini >> SDA — A4 __ SCL — A5
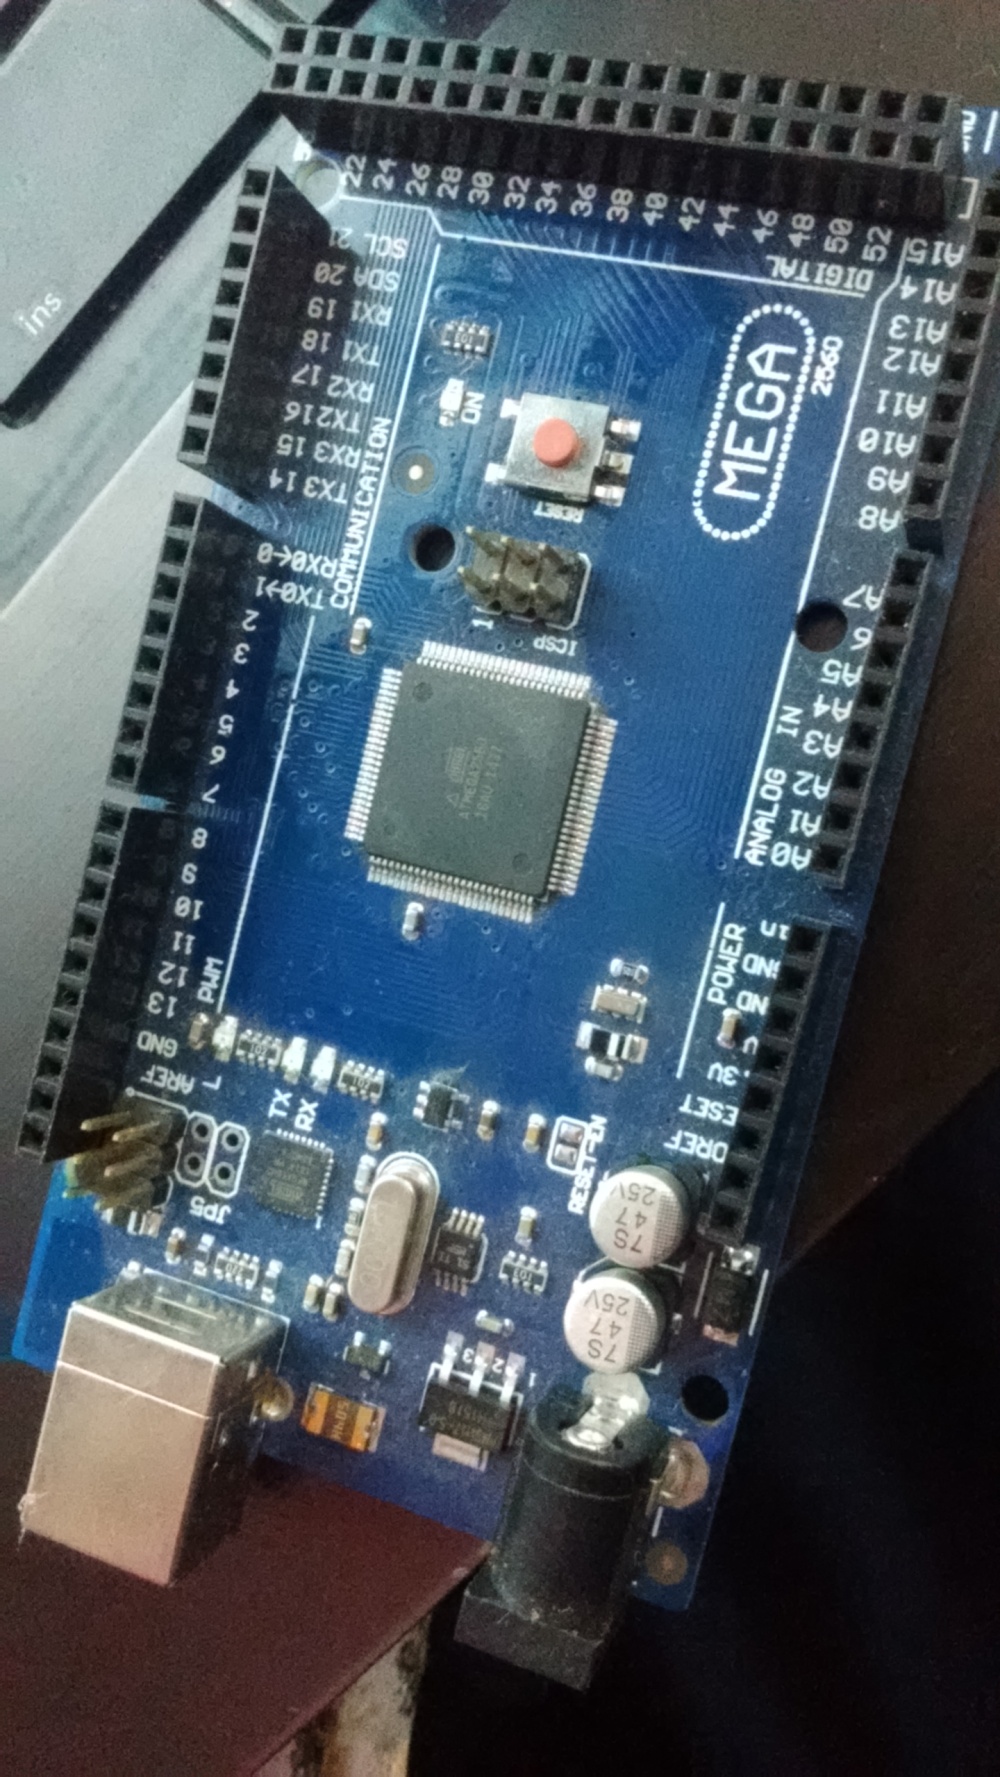
For Mega >> SDA — SDA __ SCL — SCL
(7) Connect SDA of display to SDA pin on arduino .
(8) Connect SCL of display to SCL pin on arduino .

(9) Connect VCC to arduino 3.3v and GND to GND on arduino .
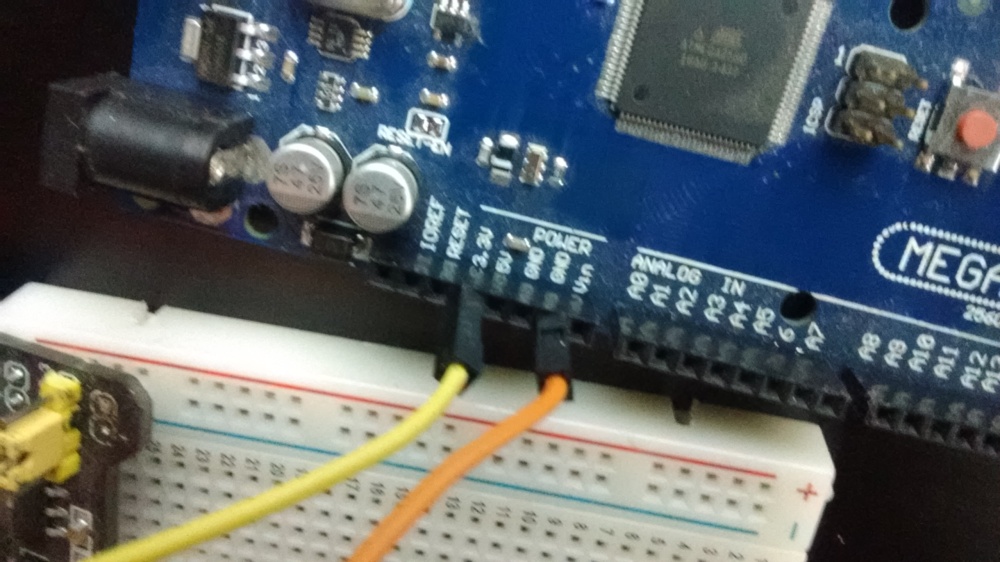
{Warning : This Displays only work with 3.3 v }
(10) Upload my code to arduino .
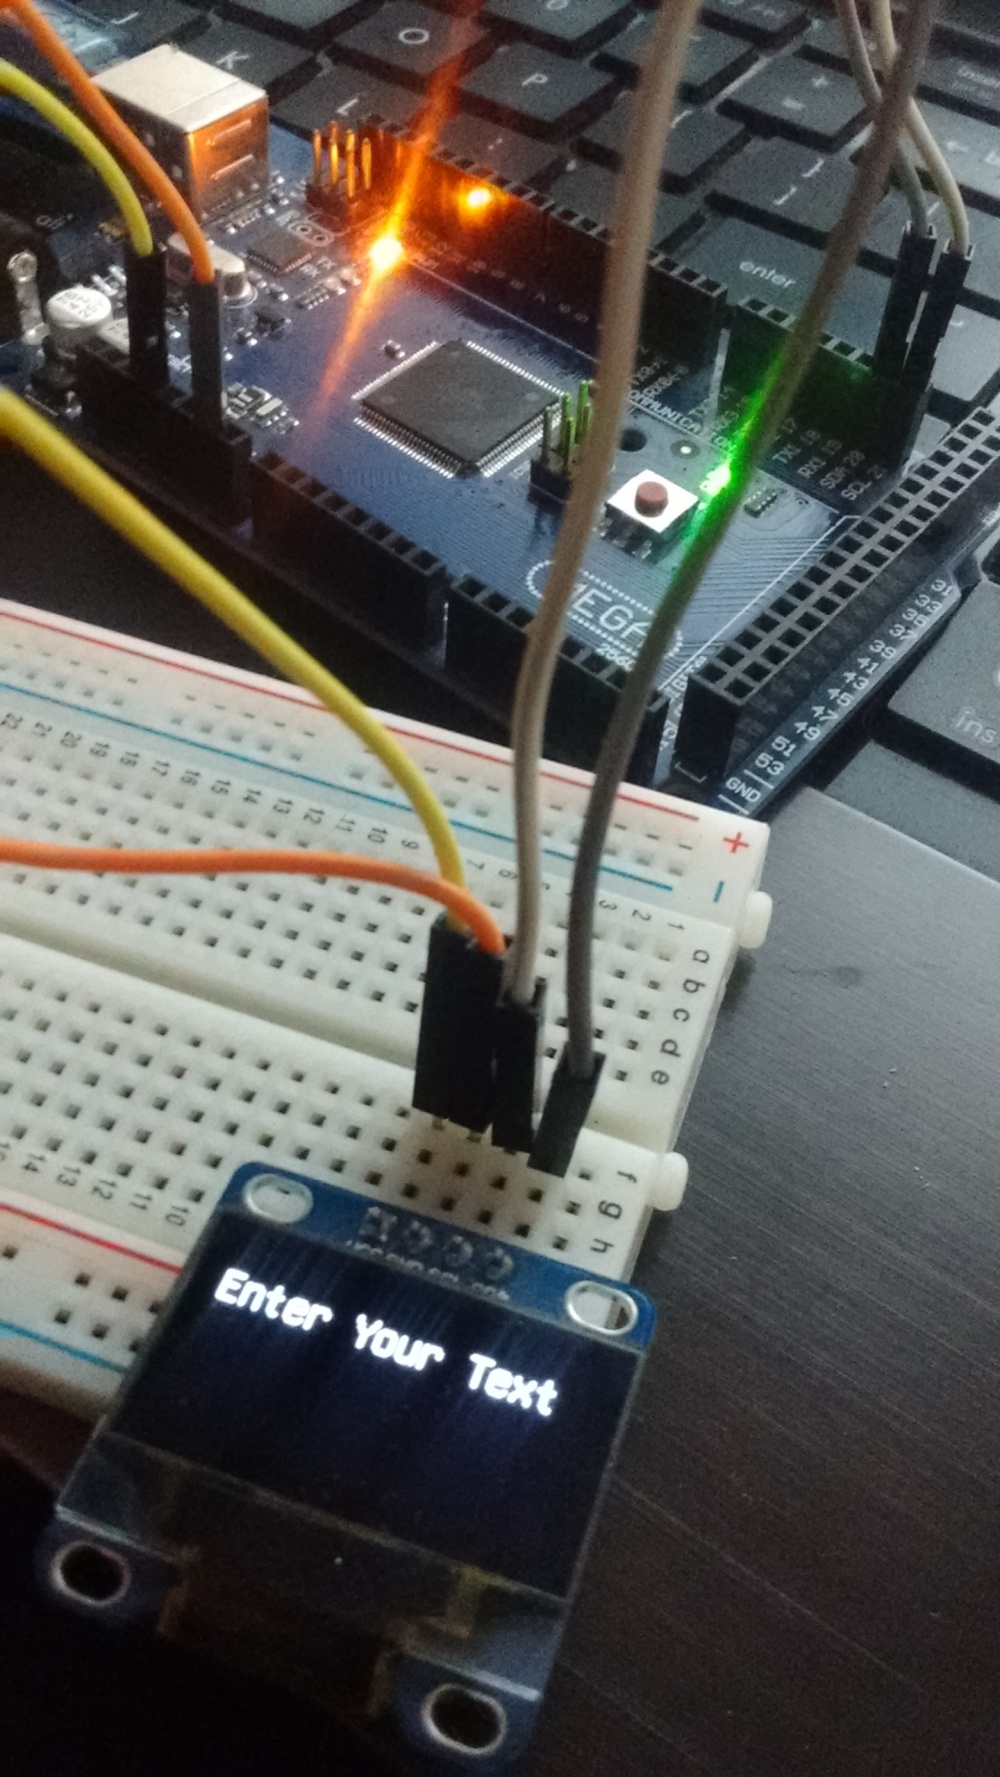
(11) You should see something like this :
Editing and personalizing the code !
When you open the arduino sketch you should see the basic code of this project .
The first line #include “U8glib.h” declares the library we are using .
The second line U8GLIB_SSD1306_128X64 u8g(U8G_I2C_OPT_DEV_0|U8G_I2C_OPT_NO_ACK|U8G_I2C_OPT_FAST); declares the display we are using .
The line u8g.setFont(u8g_font_unifont); declares the font we are using .
The line u8g.setPrintPos(0, 20); declares the position whare we want to display our data .
The line u8g.print(“Enter Your Text Here”); shows the text we want to display . You can edit it to anything you want .
The lines in the void Loop section :
// picture loop
u8g.firstPage();
do {
draw();
} while( u8g.nextPage() );
// rebuild the picture after some delay
delay(500);
Executes the void draw function which we created previously .
You can check out other example sketches included in the library .
In every examle sketch you may have to remove // from the line :
//U8GLIB_SH1106_128X64 u8g(U8G_I2C_OPT_DEV_0|U8G_I2C_OPT_FAST);
You can see it here :

You can feel free to modify the code as per your requirement .
I hope this post was useful for you !
