Do you feel that it would be awesome if you could stream YouTube or Netflix on your non-smart TV ? Well , I felt that. So in this tutorial I will show you how you can convert any TV to a smart TV for all of your Media consumption needs.It runs on Open-ELEC , a open source operating system running KODI (XMBC) Software.
First Lets compare all the options available in the market currently :
#1 Chromecast(Or any other streaming stick) : Costs more than $25 ; Isn’t a full fledged computer ; Totally dependent on your smart phone to operate .


#2 Bare-bone PC(Intel NUC) or Intel Compute Stick : Costs an upwards of $150
#3 Apple TV Or Amazon Fire TV : Costs and upwards of $200 ; Overpriced for what they offer


So this made me think for making a DIY media stick. I decided to use a SBC(Single Board Computer) for this purpose.
But here too I had three options :
#1 Raspberry PI 3($40) : Powerful ; Great availability of resources ; But too expensive for my budget.


#2 Raspberry PI Zero ($5) : Too under-powered for my requirements ; Ins’t available in my country (India) .
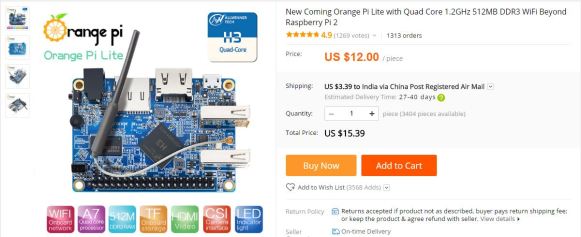
So I settled upon using A Orange pi Lite board . For those of you who don’t know what orange pi is , it is a Chinese SBC manufactured by Shenzhen Xunlong Software CO., Limited, China .This is a raspberry pi clone which has all the bells and whistles you need for making this projects . It has built in WIFI , 512 MB of RAM , HDMI Out , a smaller factor than RPI 3 and all of this in just $12 . {Chinese People are amazing!}.
So after you have ordered your orange pi you will receive it in under a month .
So this the procedure for making your Media Center Up and running :
- Download the open-elec KODI image for your orange pi form here.
- Select the highlighted file and download it.
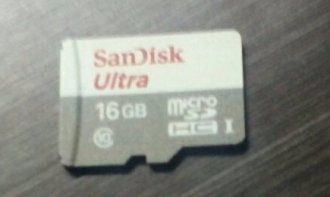
- Take a SD card (8gb recommended) and connect it with your PC using a SD card reader.
- Download wind-32 disk imager from here .
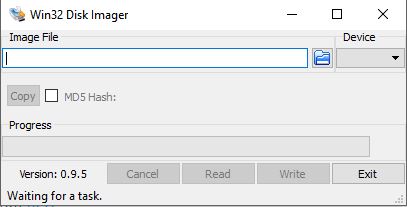
- Open it and select the SD card and image file . Burn the image onto the SD card .
- Once flashed take your SD card and insert it in your Orange pi lite.
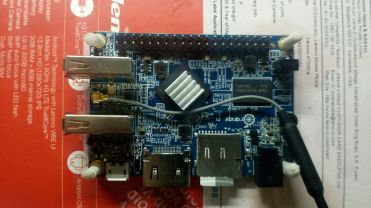
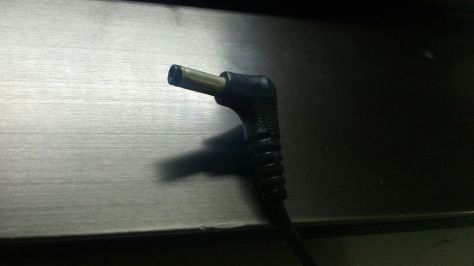
- Connect a 5v power supply(using the 3.5mm jack) and HDMI Cable to your orange pi and boot it up .
- The first boot will take longer as the setup files needs to expand its file system on the PI.
- Once completely booted attach a keyboard and a mouse to the pi.
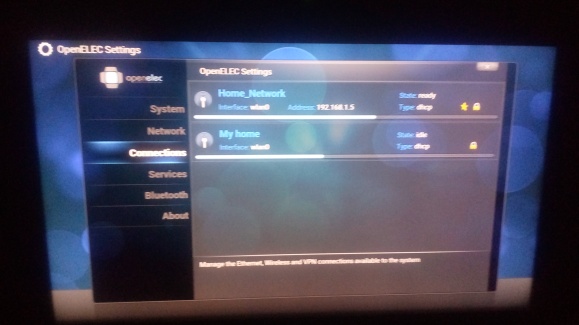
- Navigate to open-elec settings on your orange pi and under networks tab select and login to your wifi network.
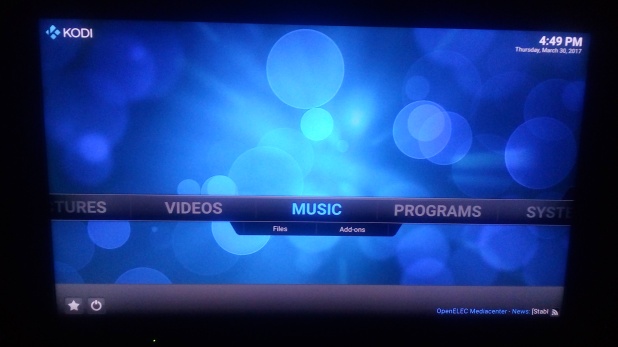
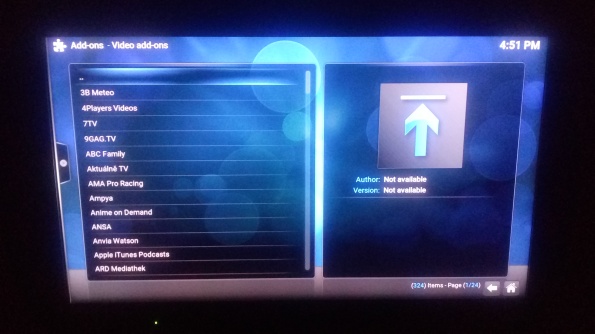
- After the login go to home and under video option select add-ons .


- Browse through the add-ons and install add-ons of your favorite streaming services like YouTube or Netflix.
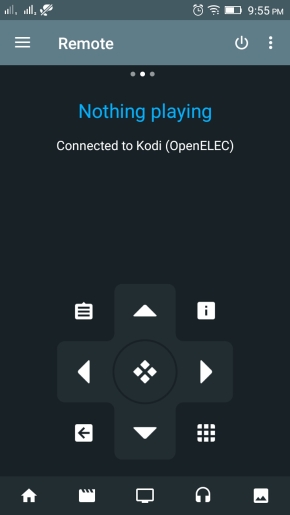
- Now on the play store or apple app store search for KORE and download the KORE app . This app will act as a wireless remote for your media center .

- Open the app and it will automatically detect your orange pi device.
- From here you can disconnect the mouse and keyboard and give your PI a proper DIY enclosure.
- Additionally it has the capability of being a utorrent remote ,email-client , twitter client , FTP or Media server etc. You can browse the various add-ons in different sub categories .
*If you don’t have a power adapter with 3.5 mm jack and a SD card at your home , the total project cost comes around to about $20 .
Hope you learnt something from this post . Comment down below if you had any problem building this project.
