{Sorry guys , its been long {SERIOUSLY LONG} time since my last post but I was working on a very big {and hectic } project for school submission so…}
This would be a two part post . In the first part i will explain the idea and hardware used and in second part i will talk about the actual build – wiring , CODE and the schematics.
Idea:
The main objective of this project was to understand the working of a simple digital calculator and to recreate it . The projects uses a 16*2 LCD display to display numbers , operators and the result and for the buttons it uses home made buttons made from scrap aluminium foil , sponges and wires **.
Here’s a short video i made describing the basic working of this build.
Credits { Team mates } :
- Ashutosh Dhingra { @AshutoshDh }
- Sagar Batra {@SagarBa45158497}
- Rishit Kapoor
So lets get started !
Materials Required :
- Arduino Board { Any of the board could work ; I used MEGA here }

- Lots of wire {Really a lots of it }
- Aluminium foil , sponges and wires**
- 16*2 I2c Lcd Display {It has to be the I2c One !}
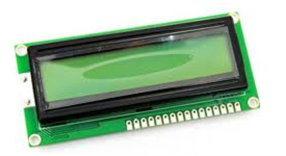
16*2 LCD Display
- Cardboard or wood
- Glue Gun
- Soldering Iron
- Male headers {Optional}
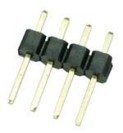
Male Headers
- Electrical Tape
- Cardboard/ MDF board / Wooden board
**{Or you could simply use 16 push buttons instead of making your own 🙂 }
Procedure :
Hardware :
Making The Buttons (You can skip this part If you want to use tactile push buttons instead)
We wanted to make a calculator purely from scratch so we made our own buttons . This idea of making buttons was proposed by Ashutosh so shout out to him .
- Cut 2 small square pieces of aluminium foil nearly 5 * 5 Cm in size .
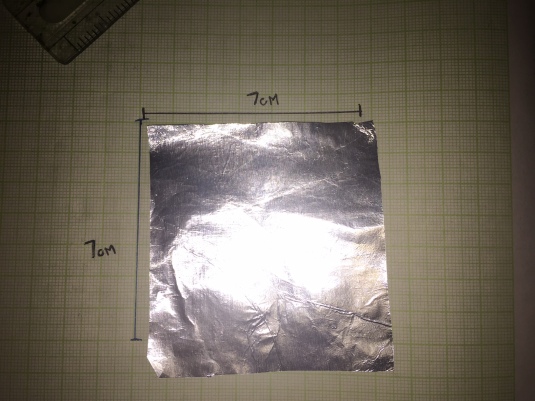
- Take a sponge and divide it into square of 7*7 cm in size to get a small piece like this:
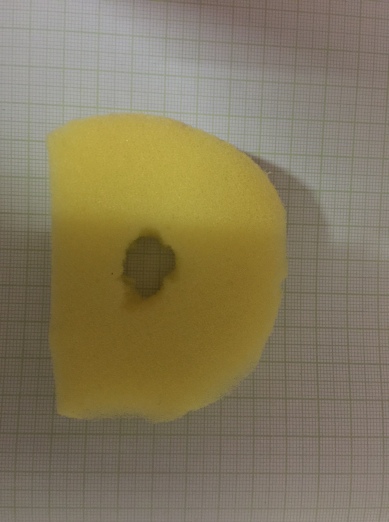
- Make small hole in the center of the sponge piece .
- Use tape or hot glue to stick a piece of aluminium foil to each side of sponge .
- Glue wires with exposed ends to the foil pieces and make sure the bare ends of the wires are touching the foil .
- Now you have finally created a button . Use a continuity meter to check if the button is working fine .
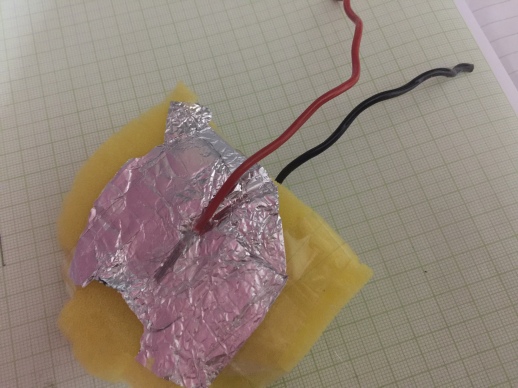
Final Button
- Repeat this 16 more times to get a total of 16 buttons .
And Now the most hectic part of the build {apart from coding } is complete .
Note : If using tactile buttons extend its two wires and cover the button with sponge or any other cushion type material.
Making the Base/Keypad .
- To make the base you can use cardboard/ MDF board / Wood sheet and cut it into a square of 1.5 m In size .
- Now ,take your buttons and lay them on the board equidistant from each other like this :
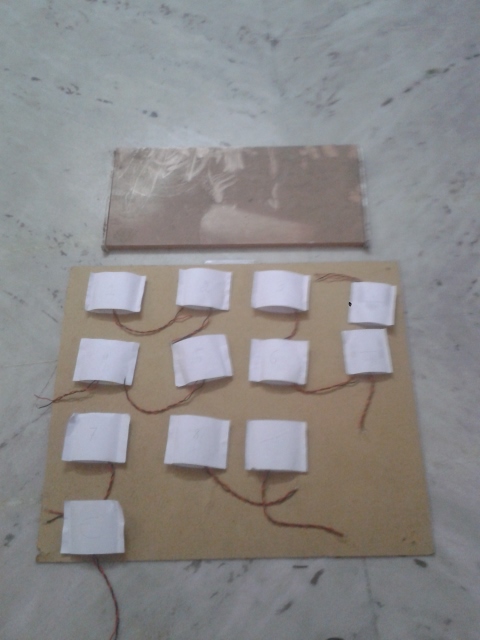
Top :The display portion consisting of a wooden block (Un-drilled) ; Bottom : The main keypad structure with buttons
And that’s all for the hardware build .
The next part will be explaining the electronics ; schematics ; wiring and the coding stuff so stay tuned ! 🙂
