Ever wanted to minimize your total project cost by replacing full fledged arduino board ? There is a solution for you . The atmega 8a chips , available on ebay for 1 buck can be really useful to minimize project cost and size.
For their price these chips are pretty capable. These have 8kb of memory whereas traditional arduino uno which as atmega 328 has 32kb flash storage. But for low requirement projects these could be quite useful .
So lets get Started on how to program them !
Material Required :
Atmega 8a
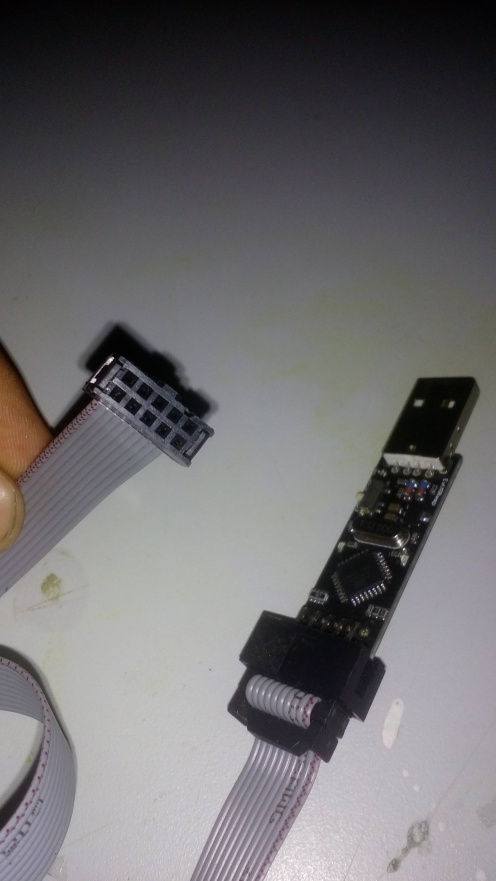
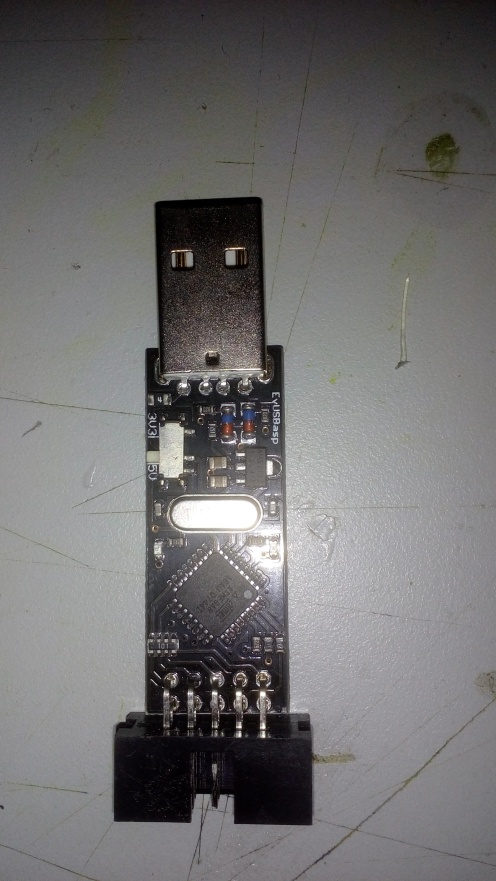
Usb asp Programmer (you could find them on ebay for little under 2 bucks dollars )
Breadboard
Jumper wires
A working Brain (Of course !)
Procedure >>>
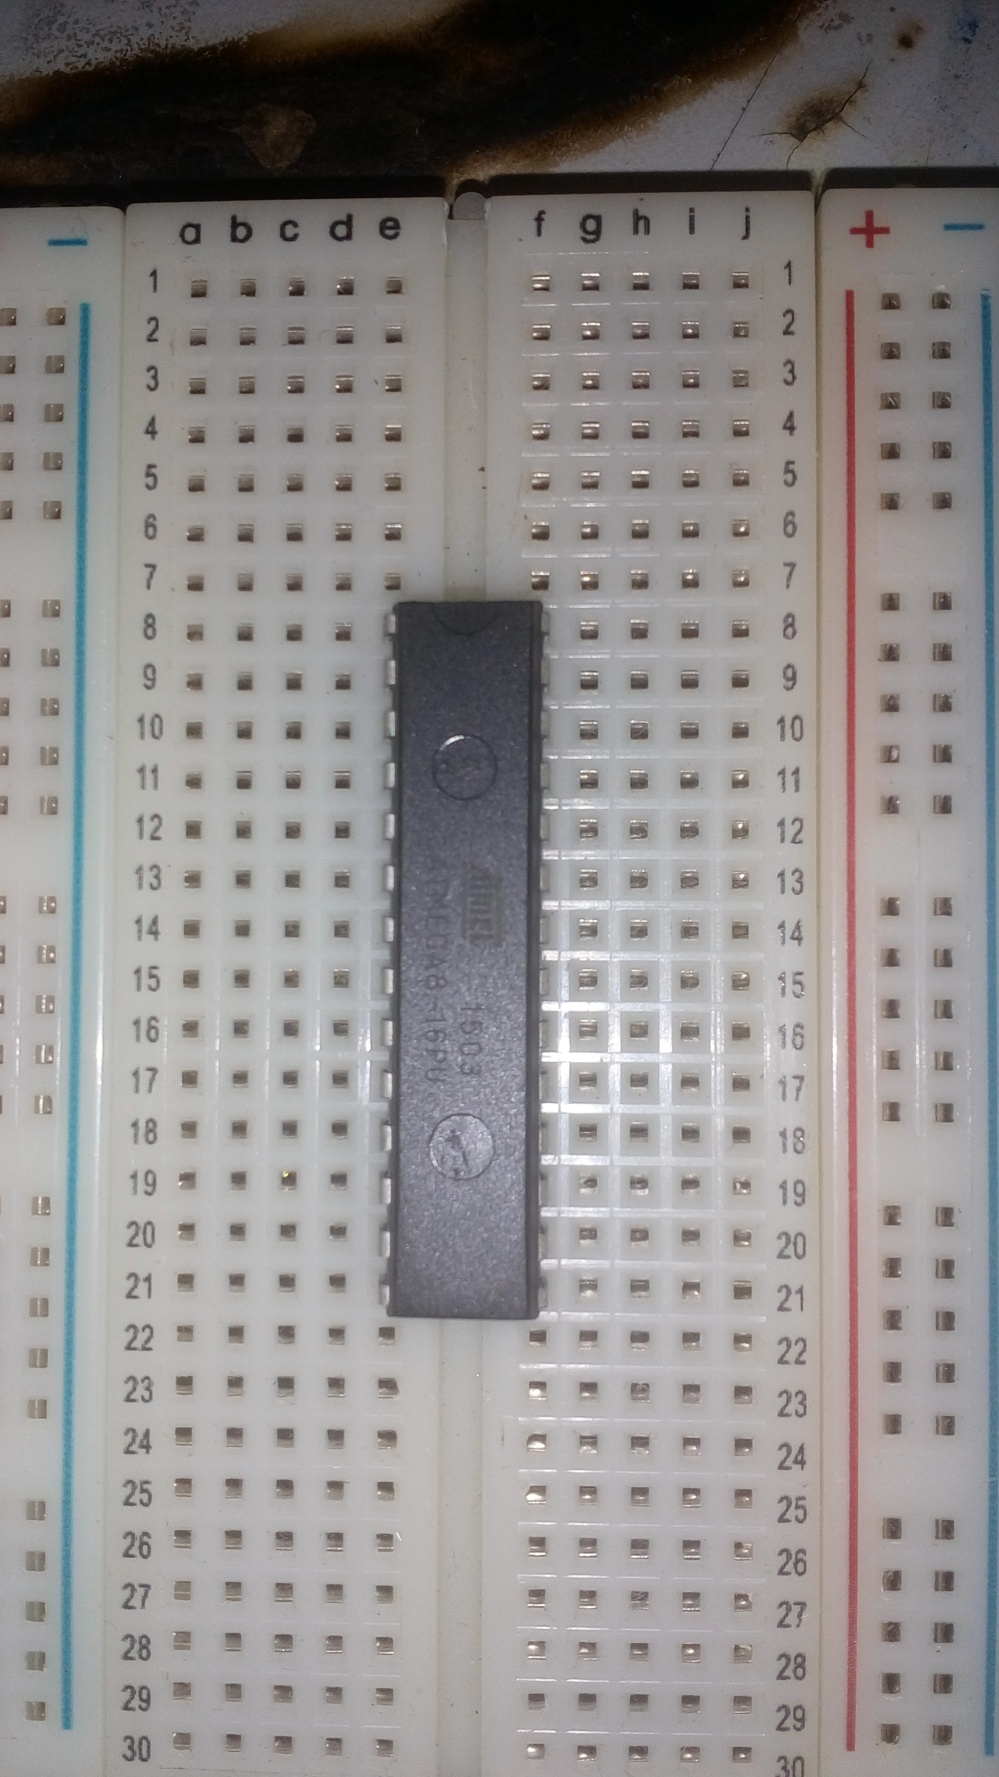
(1) Put you MCU (Micro controller) onto a breadboard with little notch on top.
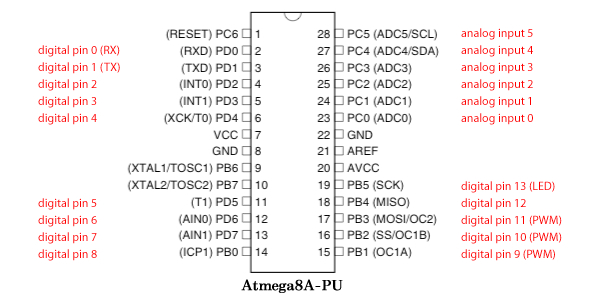
(2) Refer to this image for pin-out through out this tutorial .
(3) Now take your usb asp programmer and attach its cable to it.
Observe it cable pin-out :
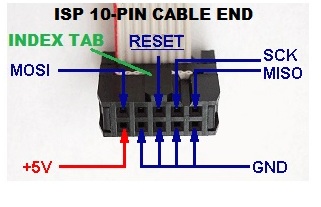
(4) Now Its Time to Connect Usb asp to Your Atmega .
Connect >>
MISO > PIN 18
MOSI > PIN 17
SCK > PIN 19
RESET > PIN 1
VCC >PIN 7
GND>PIN 8
After Connection the result would look like this :
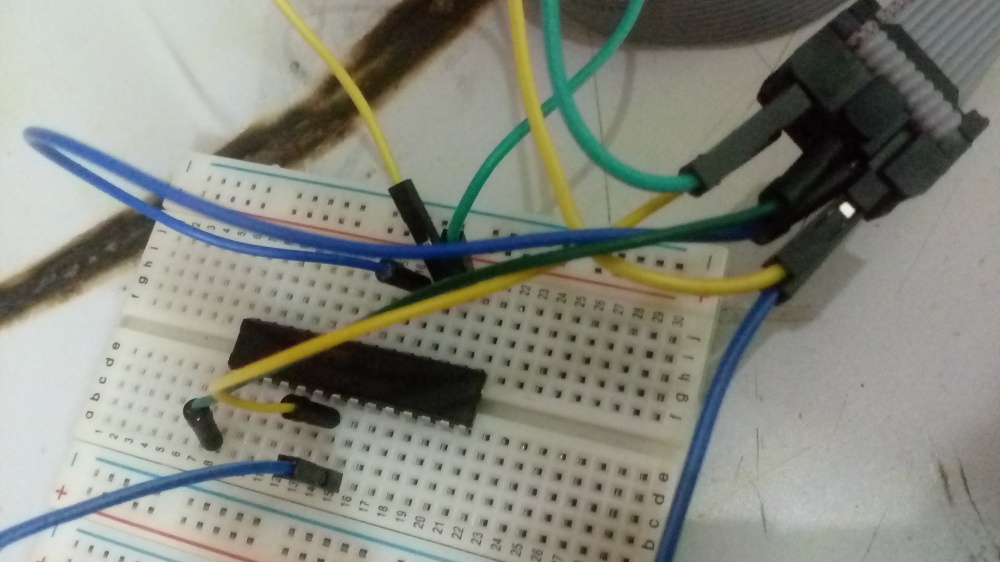
Now Lets Get To the software side
(5) open arduino IDE
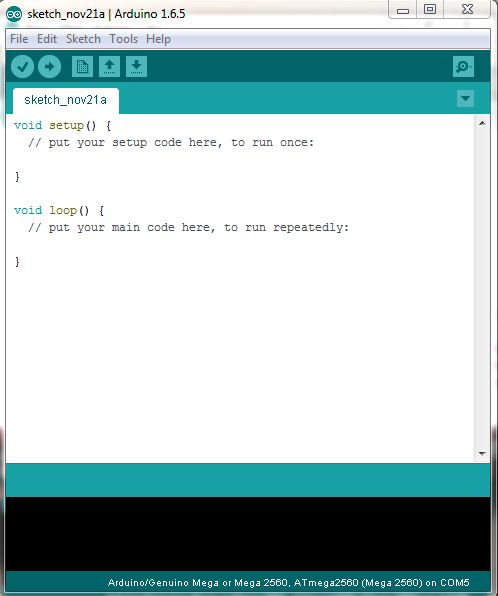
(6) Go to tools>boards and select – Arduino NG or older
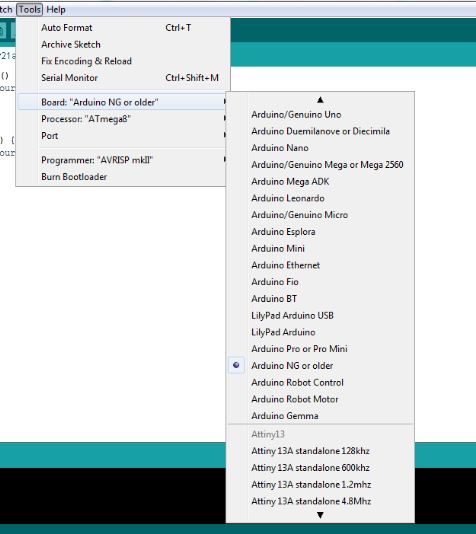
(7) Now go to tools > processor and select Atmega8a
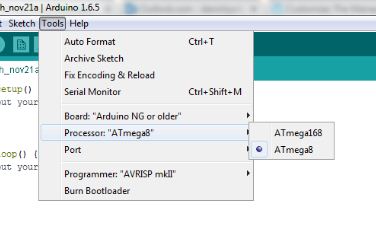
(8) Now , go to tools > programmer and select USBasp
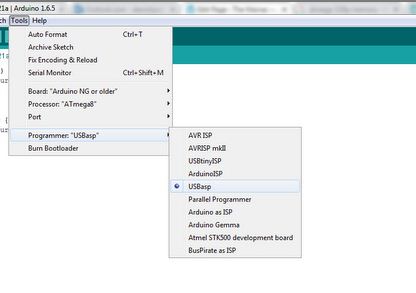
(9) Now we are ready to upload the code.
Remember When Uploading using external programmer (in this case USBasp ) Use Ctrl + Shift + U key combination for uploading the code.This is very very important . Always remember :

(10) You can open example blink sketch and upload your code usin Ctrl +shift+U.
Note : The timing of blinking of led may be more than 1 second . I will show you how to make it accurate by adding an external crystal in another post.
Hope You Enjoyed And Learnt Something By This Post .
Post your problems and questions in the comment section .
